 Paweł Domański
17 KiB
title, source, author, published, created, description, tags
| title | source | author | published | created | description | tags | ||
|---|---|---|---|---|---|---|---|---|
| Od początkującego do eksperta: pierwsze 60 sekund z OpenCode | https://medium.com/artificial-intel-ligence-playground/beginner-to-expert-your-first-60-seconds-with-opencode-bf9d5800f6b3 |
|
2026-06-12 | 2026-06-15 | Instalacja i pierwsza konfiguracja w mgnieniu oka: jak zacząć używać opencode do własnych projektów. Część 2 serii. |
|
Instalacja i pierwsza konfiguracja w mgnieniu oka: jak zacząć używać opencode do własnych projektów. Część 2 serii.

Rozpoczęcie pracy z OpenCode jest szybsze niż zrobienie kawy.
W tym przewodniku pokażę Ci, jak go zainstalować, podłączyć do wolnego "mózgu" AI i wykonać swoje pierwsze polecenie.
Nie musisz być czarodziejem programowania; Potrzebujesz tylko terminala i odrobiny ciekawości.
Spis treści
The Thrill of the New Install
Step 1: Getting the Software onto Your Machine
What on Earth is a Package Manager?
Step 2: The First Launch and the TUI
Step 3: Connecting Your First "Brain" (For Free!)
Step 4: Your Very First Command
Troubleshooting: When Things Don't Go According to Plan
Conclusion: You are Now an Agent User
A tak przy okazji, to jest seria 6 artykułów:
Część 1 — Rewolucja OpenCode: coś więcej niż kolejny chatbot**
Część 2 — Początkujący do eksperta: pierwsze 60 sekund z OpenCode**
Część 3 — Nauczanie agenta: opanowanie kontekstu z AGENTS.md
Część 4 — Zestaw narzędzi: Polecenia i umiejętności w OpenCode
Część 5 — Twoja prywatna agencja AI: lokalna potęga
Część 6 — Zaawansowana orkiestracja: systemy wieloagentowe i wtyczki
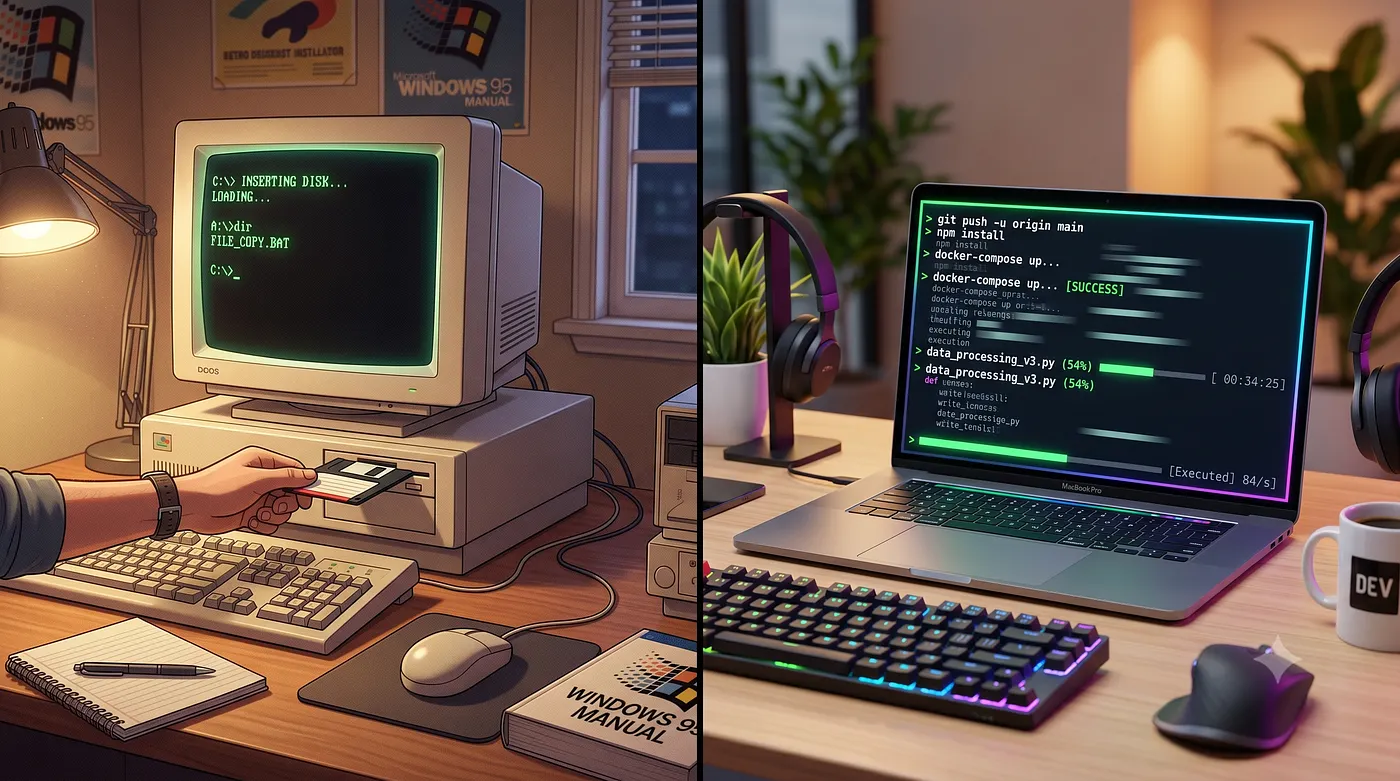
Dreszczyk emocji nowej instalacji
Istnieje specyficzny rodzaj radości, który płynie z instalowania nowego oprogramowania. To ten moment oczekiwania, gdy zastanawiasz się: "Co to właściwie może dla mnie zrobić?" Pamiętam początki instalowania specjalistycznego oprogramowania na mojej starej stacji roboczej. Włożyłeś dyskietkę, czekałeś na pasek postępu, a nagle pojawiała się nowa ikona.
Instalowanie agenta AI takiego jak OpenCode jest podobne, ale z nowoczesnym akcentem. Instalujemy tę funkcję. Przygotowujemy grunt pod partnerstwo z inteligentnym systemem.
W tym artykule przeprowadzę Cię przez ten proces. Nie będę zakładać niczego. Zaczniemy od czystej karty, a w ciągu kilku minut będziesz rozkazywał AI pisać dla ciebie kod.

Step 1: Getting the Software onto Your Machine
Depending on what kind of computer you are using, the way you “get” OpenCode will differ slightly. Think of it like different ways to order a pizza. You can call the shop, use an app, or walk in. The result is the same: you get your pizza.
Prerequisites
You need to have Node.js and Git installed. If you already have Chocolatey you can read all the steps here.
Beyond catastrophic forgetting: how to build an LLM-Knowledge Base for the long game
A guide for you to turn scattered PDFs into a compounding Personal Knowledge Base using Python, Agents, and a little…
medium.com
Node.js is the standard installation method for Windows (and in handy for future upgrades with MCP and tools). Git is the World standard for Software Version Control, used to manage your repository (code or documents).
My suggestion, if you are on Windows, is to use GIT Bash as a terminal editor and the main reason is…
👉 Tip: most of the agents will try to run like commands to browse files, search for patterns, read your files. The Windows Terminal and Powershell struggle to parse the commands. GIT bash is fully able to understand them.
unix/linux
- Download and install Node.js from here
- Download and install Git from here

For macOS and Linux Users
If you use a Mac or a Linux machine, you likely have access to something called “Homebrew.” If you don’t know what that is, don’t worry. It is essentially a massive, automated warehouse for software. Instead of hunting for a download button on a website, you just tell Homebrew what you want, and it finds it, downloads it, and installs it for you.
Open your terminal (on a Mac, you can find this in your Applications/Utilities folder) and type this single line:
brew install anomalyco/tap/opencode
That’s it. Just press Enter and watch the magic happen.

For Windows Users
Windows users, you have a few options. The easiest way, if you are already familiar with web development tools, is using. You might have heard of before; it is the "Node Package Manager," which is another way of saying it is a very reliable delivery service for software.npm npm
And since I already asked you to install node.js, you have all you need.
Open your Command Prompt or PowerShell and type:
npm install -g opencode-ai
If you prefer a different approach, you can also use “Chocolatey” or “Scoop,” which are similar to Homebrew but built specifically for the Windows ecosystem.
Chocolatey for Python & AI enthusiasts: how to turn Windows into your in-house developer…
How a terminal-first package manager can automate your tools, tame your installs, and make reproducible AI environments…
ai.gopubby.com
Once the installation finishes, we need to make sure everything is working. Type this command:
oppencode --version
If you see a version number pop up, congratulations! You have successfully conquered the first hurdle. You are officially an OpenCode user.
Few commands you need to know: start with to get the list of commands as displayed above.opencode -h
You can for example upgrade your version using opencode upgrade

What on Earth is a Package Manager?
I realize that terms like,, or might sound like gibberish if you haven't spent much time in the terminal. Let me explain them using an analogy from our daily lives.brew npm curl
Imagine you want to build a massive Lego castle. You could go to a store, find every individual brick, buy them one by one, and bring them home. That would be exhausting and prone to error.
Instead, you use a catalog. You look up “Castle Set #402,” and a specialized service delivers the entire organized kit to your door.
In the world of computing, a “Package Manager” is that catalog and delivery service. Instead of you searching the internet for, finding the right version for your operating system, and manually moving files into the right folders, you simply tell the package manager: "I want OpenCode." The manager handles the searching, the downloading, and the heavy lifting of placing the files exactly where they need to go. It is safer, faster, and much less headache-inducing.opencode.zip
Step 2: The First Launch and the TUI
Now that the software is on your machine, it is time to meet it. Navigate to any folder on your computer where you might keep projects (for example, a folder named ) and type:Documents/NewProject
opencode
Suddenly, your terminal will transform. The plain text will disappear, replaced by a structured, interactive interface. This is what we call a TUI, or “Terminal User Interface.”
Think of it like this: a standard terminal is like a blank notepad. You write a line, it responds. A TUI is more like a dashboard. It has menus, it has sections, and it is designed for you to interact with it easily using your keyboard.
Don’t be intimidated by the change. You are still in your terminal, but you are now in a specialized “command center” for your AI agent.
Step 3: Connecting Your First “Brain” (For Free!)
When you first launch OpenCode, it is like having a very capable body but no brain. It knows how to move around your files, but it doesn’t actually “know” anything yet. To make it smart, we need to connect it to an AI model.
Without knowing anything just type to get the list of the free available ones, and you are done!/models
But if you want more, this is where many people get stuck, thinking they need to go out and buy expensive subscriptions. You don’t.
Once you are inside the OpenCode TUI, type the following command:
/connect
This will open a menu of different “providers.” A provider is just the company that owns the AI brain. You will see options like Anthropic, OpenAI, and Google.
I highly recommend starting with a free option to get your feet wet. You can use Google’s AI (through their free tier) or even explore the built-in free models offered through OpenCode’s own “Zen” service.
Let’s walk through the Google option as an example:
- Select “Google” from the menu.
- It will likely ask you for an “API Key.”
Now, don’t panic. An API key is just a long, unique password that tells Google, “Hey, it’s me, and I have permission to use this service.” You can get one for free by visiting the Google AI Studio website.
I explained everything in my article about Gemma4
Gemma 4 on the Edge: high-performance AI for the “PoorGPUguy”
The ultimate guide to Local AI: hosting Gemma 4 on your home Network
medium.com
It takes about two minutes. You copy that key, go back to your terminal, paste it in, and hit Enter.

the free models as of June 2026
Once you have entered the key, OpenCode will perform a quick handshake with the provider. If everything is correct, you will see a message saying “Connection successful.”
Congratulations! You have just successfully wired your local agent to a world-class intelligence. You are now officially “online.”
Step 4: Your Very First Command
This is the moment we have all been waiting for. The brain is connected, the body is ready, and it is time to give your first order.
Let’s start with something simple to make sure the “handshake” between your computer and the AI is working perfectly. We will ask it to create a small Python file.
In the OpenCode interface, type:
Create a simple Python script that prints "Hello, OpenCode!" and save it as hello.py
Watch what happens. You will see text appearing on the screen. This isn’t just the AI talking; this is the agent thinking and acting. It will say something like: “I will now create the file hello.py and write the code.”
Then, you will see the file actually appear in your folder.
👉 Tip*:* Did you noticed that the Agent already run the test itself to see if the app in python was working?
To verify it worked, you can run the script yourself in your terminal:
python hello.py
If you see “Hello, OpenCode!” printed on your screen, you have done it. You have just successfully used an AI agent to perform a real-world task. It sounds small, but this is the foundation of everything that comes next.
👉 Tip*:* you can execute shell commands without leaving the TUI. The same way you do it in Colab or Jupyter Notebook, start the command with an exclamation mark. The result will be printed in the TUI.
Example from the small GIF above:
!ls

You can see in the GIF above the main commands to know and keyboard shortcuts:
TABto move from Plan to Build mode/to get the list of built-in commandsctrl+pfor the entire list of options
👉 Tip*: we are in the Windows Terminal but with a GIT Bash session. If you use Git Bash directly, remember that* does not work to paste text. You need to use
*CTRL+V**SHIFT+INS*

Troubleshooting: When Things Don’t Go According to Plan
Even for the pros, things occasionally go sideways. If you run into trouble, don’t worry. Here are the three most common hiccups:
“Command not found”
If you type and your computer says it doesn't know what that is, the installation likely didn't finish or your terminal needs to be "refreshed." opencode
🧰 Try closing your terminal window completely and opening a new one. If that fails, try running the installation command again.
“Connection Error” or “Unauthorized”
This almost always means something went wrong with your API key.
🧰 Double-check that you didn’t accidentally copy an extra space at the beginning or end of the key. Also, make sure you actually have a valid key from the provider’s website.
Python or npm errors
If you get errors while installing or running scripts, it might be because your computer is missing a fundamental building block.
🧰 Most of the time, simply updating your software (pip install package) or following the specific instructions for your operating system will fix this.

for unknown reasons to me, Gemini thinks that a digital assistant is a woman
Conclusion: You are Now an Agent User
Take a moment to appreciate what you just accomplished. In just a few minutes, you went from having nothing to having a functional, intelligent agent sitting on your machine, ready to assist you.
You have learned how to install software using package managers, how to navigate a terminal interface, how to connect to a cloud-based intelligence, and how to give your first command. These are the building blocks of a much larger journey.
In our next article, we are going to move from “playing around” to “getting serious.” We will talk about, the secret document that allows you to give your AI agent a permanent memory and a set of specific instructions for your projects.AGENTS.md
The revolution is easy to start. The fun part is learning how to lead it. See you in the next one!
I hope you enjoyed the article. If this story provided value and you wish to show a little support, you could:
- Clap a lot of times for this story
- Highlight the parts more relevant to be remembered (it will be easier for you to find them later and for me to write better articles)
- Write with me on this Publication: there is no better way to learn than writing about it!
- Follow my publication https://medium.com/artificial-intel-ligence-playground
If you want to read more, here are some ideas:
The OpenCode revolution: more than just another chatbot
AI Agency under your control and data that never leaves your PC. You don’t need anymore Codex or Claude Code. Part 1 of…
medium.com
Llama.cpp has now a website. And running a local AI will never be so easy!
A new app and a new website to bring generative AI to every computer in the world
medium.com
You don’t need an AI agent for every single thing!
Your AI your Rules: Open Web UI and llama.cpp are all you need to work with your documents in full privacy and…
medium.com
I Built an AI Second Brain to cure my information overload. And here is how.
How an oil and gas engineer used the free Opencode coding agent to automate note-taking, kill the folder chaos, and…
medium.com
AI agents are the new context-aware AI automations: and you can have it for free
A blueprint for beating the “Memory Tax” and running private, agentic automation factories straight from your desk.
medium.com